1. Key Components of Relay Valves
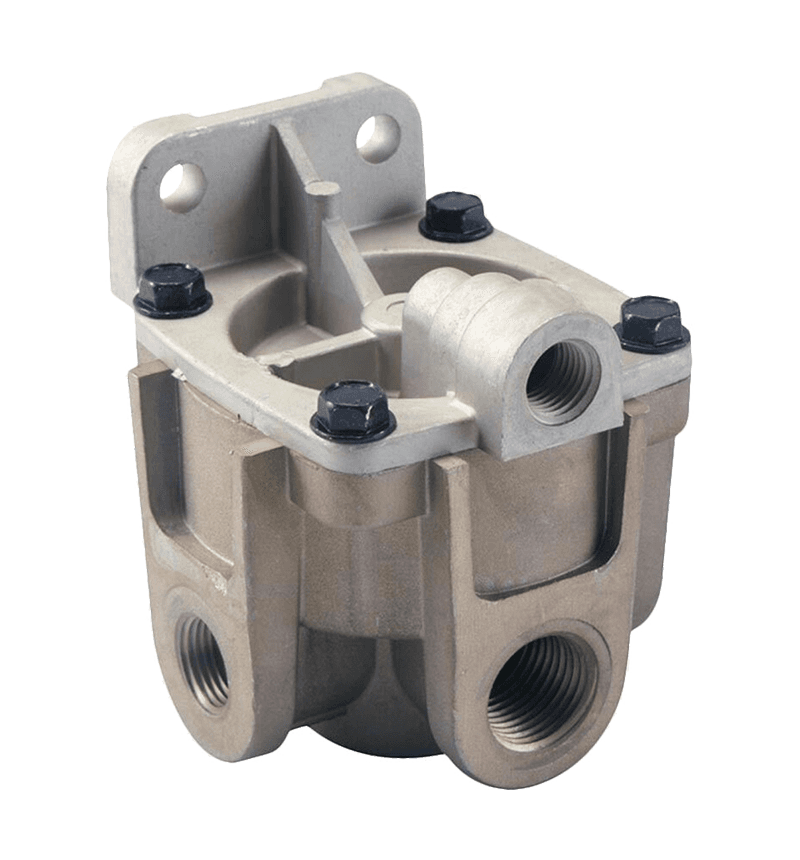
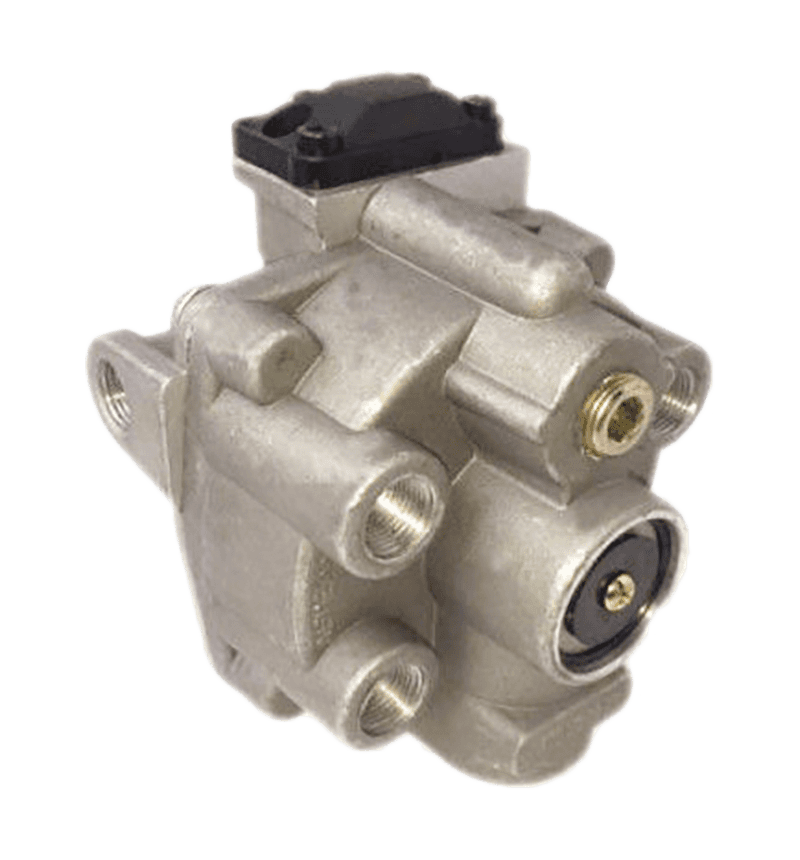
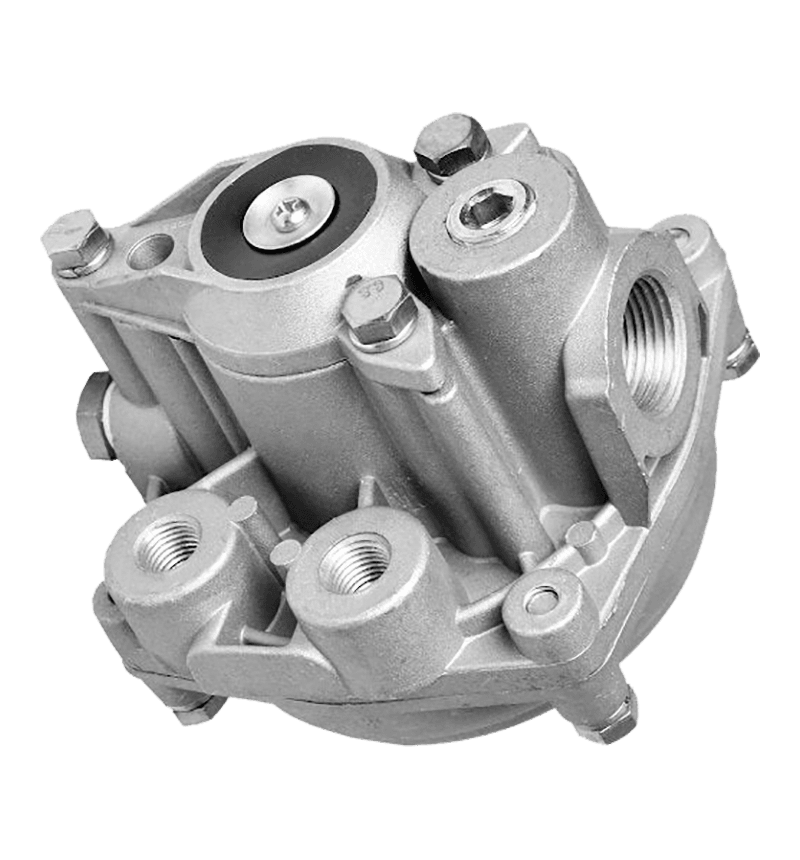
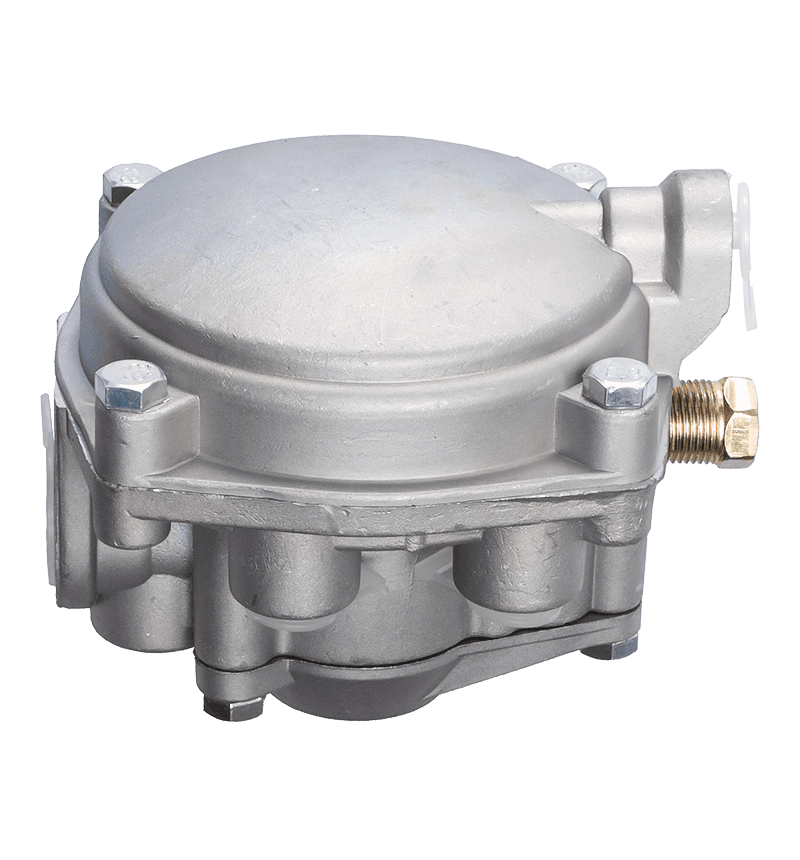
Understanding the key components of relay valves is essential for diagnosing issues, performing maintenance, and ensuring optimal performance. Each component plays a critical role in the valve's operation, contributing to the overall efficiency and reliability of the pneumatic system.
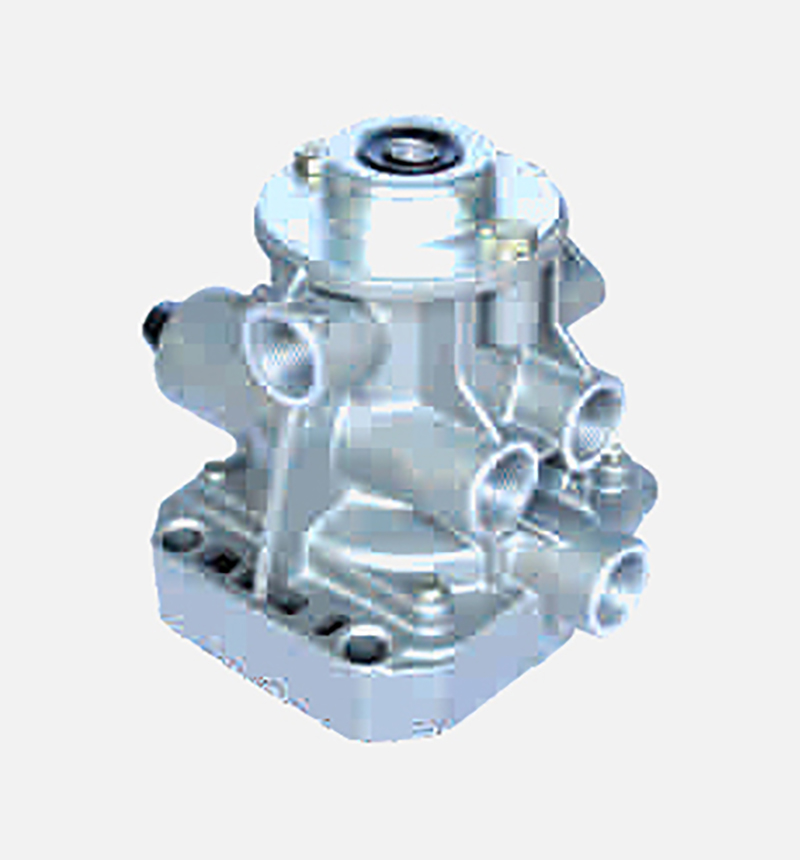
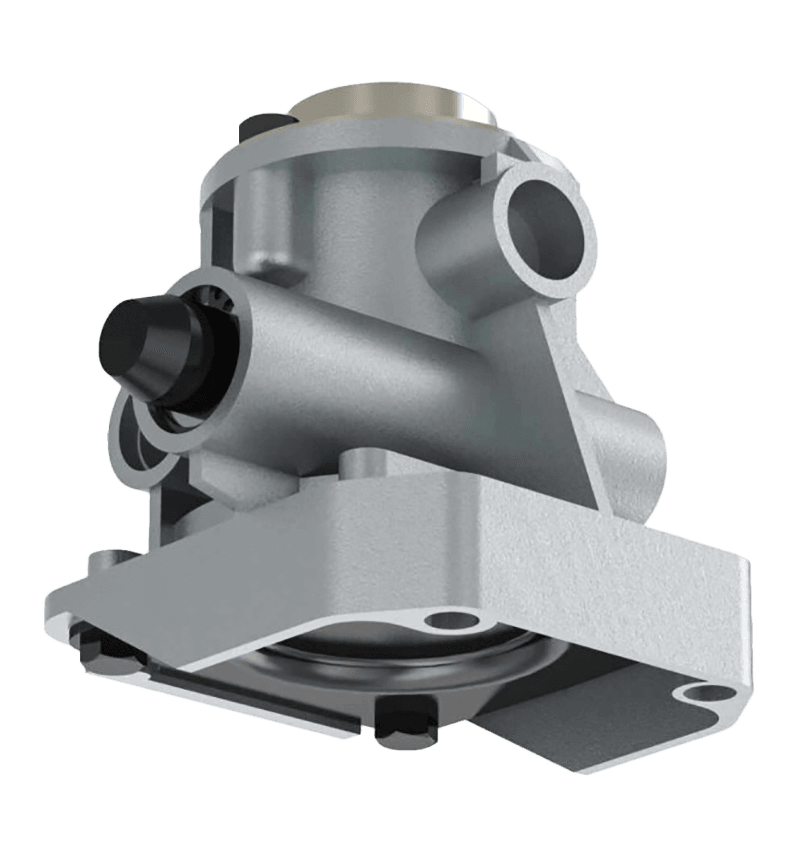
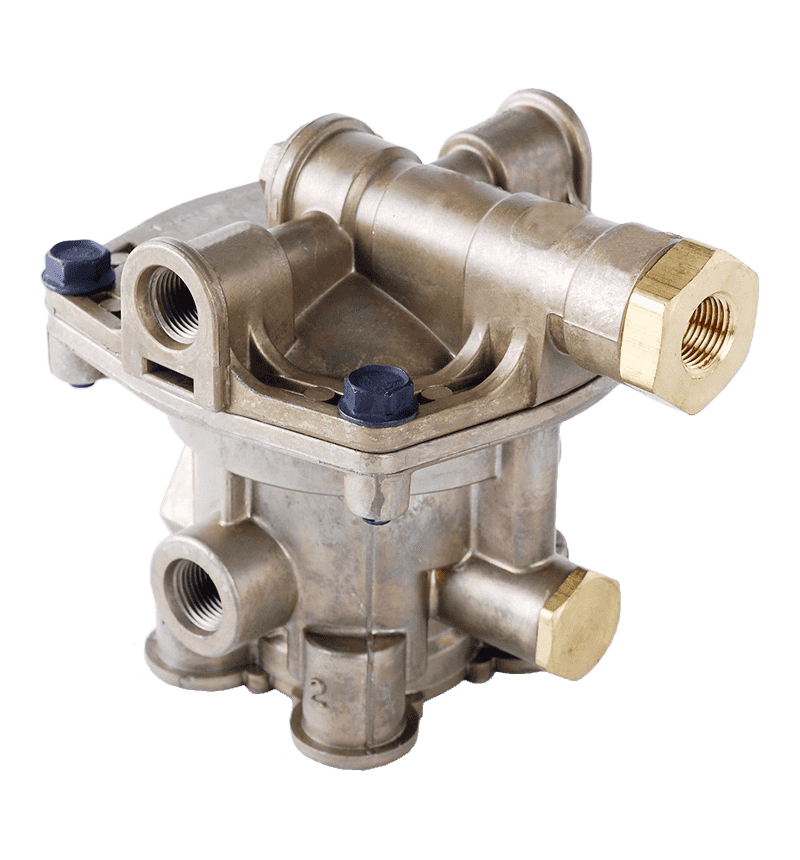
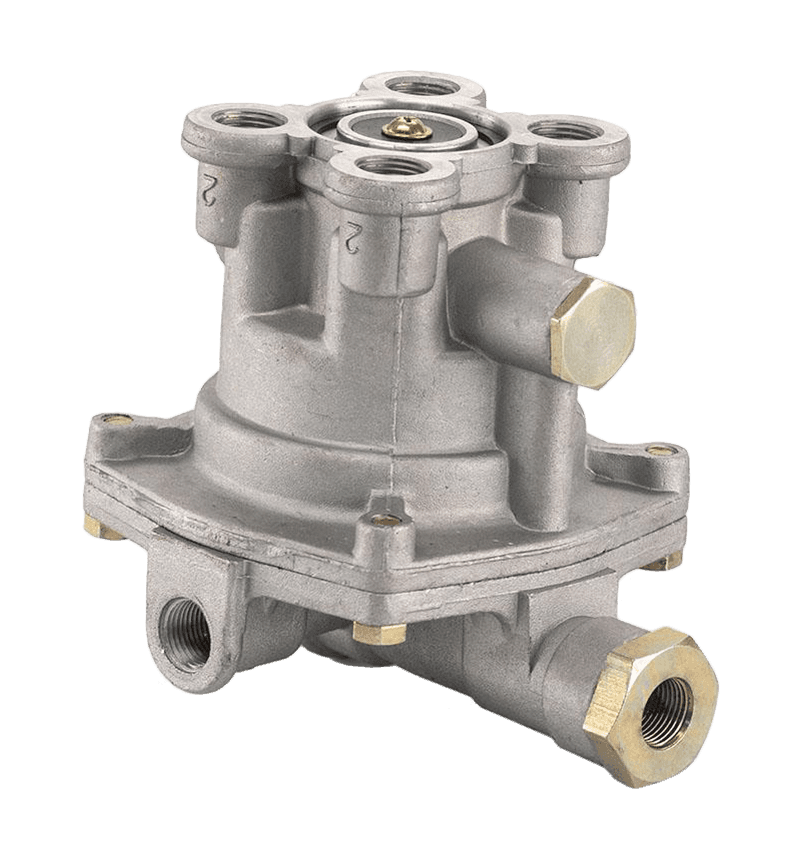
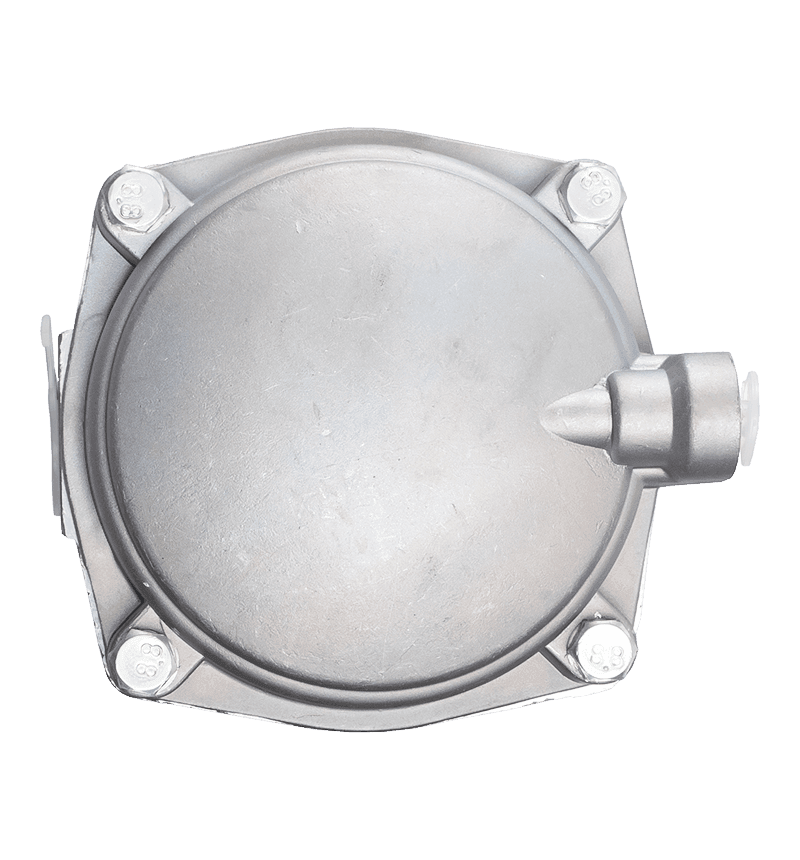
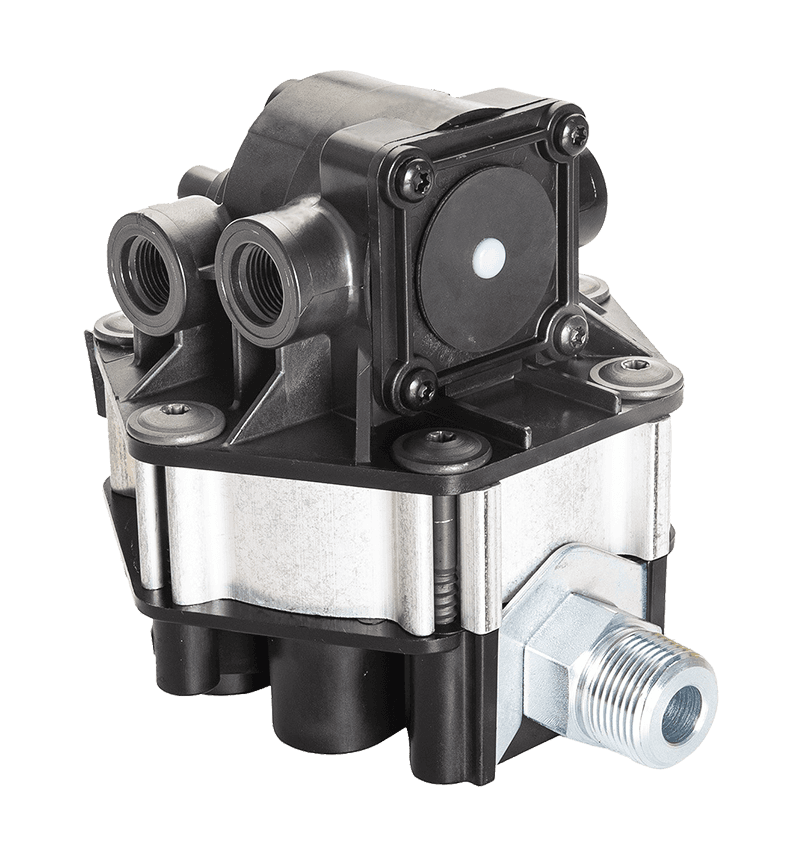
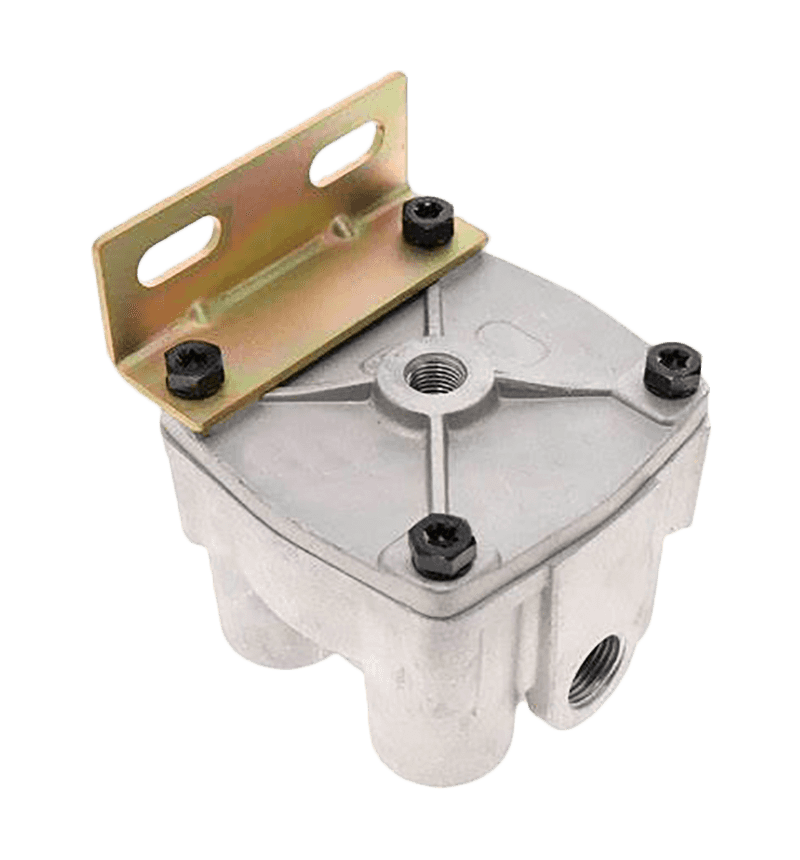
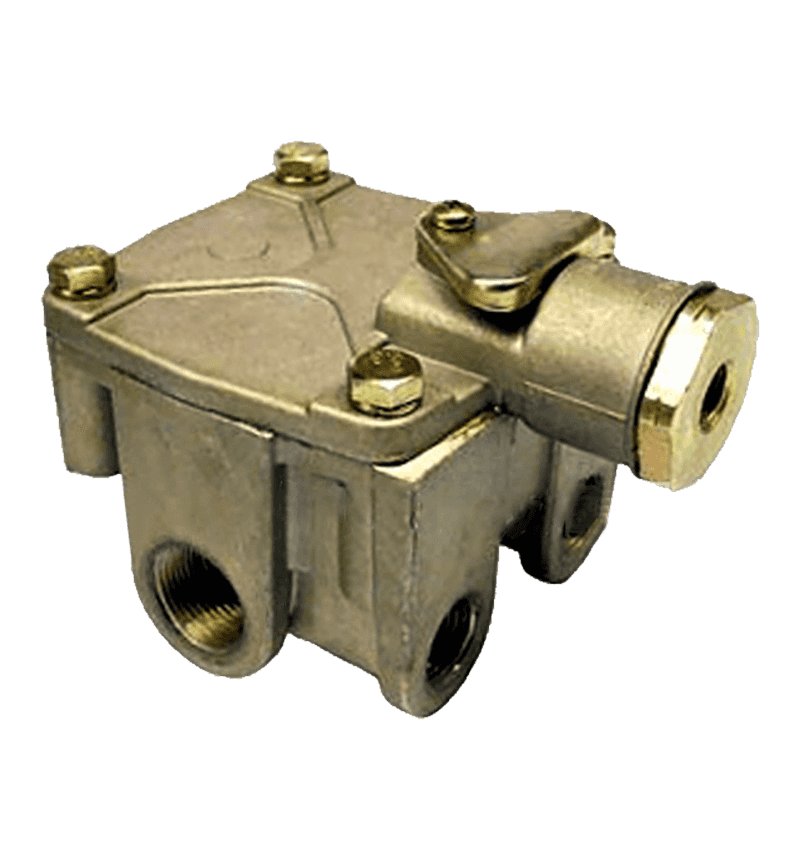
a)Housing: The housing is the outer shell of the relay valve, providing structural integrity and protection for the internal components. Typically made from durable materials such as aluminum, brass, or high-strength plastics, the housing must withstand the operational pressures and environmental conditions encountered in various applications. Precision manufacturing of the housing ensures proper alignment and sealing of all internal parts, preventing leaks and maintaining system efficiency.
b)Inlet and Outlet Ports: The inlet and outlet ports are critical points of connection for the air supply and delivery systems. The inlet port allows pressurized air to enter the valve from the control source, while the outlet port directs the controlled air to the actuator or other system components. These ports are designed to provide secure, leak-free connections, often incorporating threaded or quick-connect fittings. Proper sizing and placement of the ports are essential for maintaining optimal airflow and minimizing pressure drops.
c)Diaphragm or Piston: The diaphragm or piston is the movable element within the relay valve that responds to the control pressure. This component translates the control signal into mechanical motion, opening or closing the internal passages to regulate air flow. Diaphragms are typically made from flexible materials such as rubber or elastomers, providing a responsive and airtight seal. Pistons, on the other hand, are usually constructed from metal or reinforced plastics, offering greater durability and resistance to wear. The choice between a diaphragm or piston design depends on the specific application requirements and desired performance characteristics.
d)Spring: The spring in a relay valve provides the necessary force to return the diaphragm or piston to its original position when the control signal is removed. This ensures that the valve resets to its default state, ready for the next control input. Springs are carefully calibrated to provide the appropriate force for the valve's operation, balancing responsiveness with stability. The material and design of the spring are chosen to withstand repeated cycling without losing tension or suffering from fatigue.
e)Seals and Gaskets: Seals and gaskets are essential for preventing air leaks within the relay valve. These components are strategically placed at critical junctions, such as between the housing and the diaphragm or piston, around the inlet and outlet ports, and at other potential leakage points. High-quality materials, such as rubber, silicone, or PTFE, are used for seals and gaskets to ensure a tight, durable seal that can withstand the pressures and temperatures encountered in operation. Proper maintenance and periodic replacement of these components are vital for maintaining valve performance and system integrity.
2. Troubleshooting Relay Valve Issues
Relay valves are crucial components in pneumatic systems, and their proper functioning is essential for the reliability and efficiency of the entire system. However, like any mechanical device, relay valves can encounter issues that require troubleshooting. Identifying and resolving these issues promptly can prevent system downtime and extend the life of the valve. Here are common problems that may arise with relay valves and systematic approaches to troubleshooting them.
a)Air Leaks: Hissing sound near the valve、Reduced system pressure、Inconsistent performance of connected components, Troubleshooting Steps: Visual Inspection: Examine the valve for visible signs of wear, cracks, or damage, especially around the inlet, outlet, and control ports. Check for loose fittings or connections. Soapy Water Test: Apply a solution of soapy water to potential leak points. Bubbles will form at the location of any leaks. Tighten Connections: Ensure all fittings and connections are properly tightened. Use appropriate tools to avoid over-tightening, which can cause damage. Replace Seals and Gaskets: Worn or damaged seals and gaskets are common sources of leaks. Replace them with new, high-quality components as needed.
b)Sticking Diaphragm or Piston: Delayed or no response to control signals、Erratic operation、Audible clicking or sticking noises, Troubleshooting Steps: Disassemble the Valve: Carefully disassemble the valve according to the manufacturer’s instructions, paying attention to the placement of all components. Clean Internal Components: Remove any debris, dirt, or corrosion from the diaphragm, piston, and internal passages. Use appropriate cleaning agents and tools to avoid damaging sensitive parts. Inspect for Wear: Check the diaphragm or piston for signs of wear, damage, or deformation. Replace any worn components. Lubricate Moving Parts: Apply a light coat of suitable lubricant to moving parts to reduce friction and facilitate smooth operation. Use lubricants recommended by the valve manufacturer.
c)Inconsistent Pressure Regulation: Fluctuating system pressure、Poor performance of downstream components、Unstable output from the relay valve, Troubleshooting Steps: Pressure Testing: Use pressure gauges to measure the input and output pressures. Compare these readings to the specifications provided by the valve manufacturer. Check Control Signal: Ensure the control signal is stable and within the specified range. Verify that the control port is receiving the correct input. Inspect Internal Passages: Disassemble the valve and check for blockages or restrictions in the internal passages. Clean as necessary to ensure unrestricted airflow. Replace Worn Springs: Springs can lose tension over time, leading to inconsistent pressure regulation. Replace worn or weakened springs with new ones specified by the manufacturer.


 English
 Español
